- hosts: localhost
tasks:
- ec2_vol:
aws_access_key: AKIA2YKZL3BBPLMX7X2F
aws_secret_key: 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
instance: None
id: vol-04503f05970b6cf25
state: absent
device_name: /dev/xvdb
zone: ap-south-1b
region: ap-south-1


- hosts: localhost
tasks:
- ec2_vol:
aws_access_key: AKIA2YKZL3BBPLMX7X2F
aws_secret_key: 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
instance: None
id: vol-04503f05970b6cf25
state: absent
device_name: /dev/xvdb
zone: ap-south-1b
region: ap-south-1
- hosts: localhost
tasks:
- ec2_vol:
aws_access_key: AKIA2YKZL3BBPLMX7X2F
aws_secret_key: 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
instance: None
id: vol-04503f05970b6cf25
device_name: /dev/xvdb
zone: ap-south-1b
region: ap-south-1
delete_on_termination: yes
- hosts: localhost
tasks:
- ec2_vol:
aws_access_key: AKIA2YKZL3BBPLMX7X2F
aws_secret_key: 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
instance: i-02fca571b802cf185
id: vol-04503f05970b6cf25
device_name: /dev/xvdb
zone: ap-south-1b
region: ap-south-1
delete_on_termination: yes
- hosts: localhost
tasks:
- ec2_vol:
aws_access_key: AKIA2YKZL3BBPLMX7X2F
aws_secret_key: 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
volume_size: 10
device_name: /dev/xvdb
volume_type: io1
iops: 100
zone: ap-south-1b
region: ap-south-1
tags:
Name: prod-vol
Create one Ec2- instance
vim ec2.yml
- hosts: localhost
tasks:
- ec2:
aws_access_key: AKIA2YKZL3BBPLMX7X2F
aws_secret_key: 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
key_name: ansible-key
group: ansible-sg
instance_type: t2.micro
image: ami-0a23ccb2cdd9286bb
count: 1
instance_tags:
Name: ec2-server
vpc_subnet_id: subnet-38b3de74
region: ap-south-1
assign_public_ip: yes
# Note: These examples do not set authentication details, see the AWS Guide for details.

# Basic provisioning example
- amazon.aws.ec2:
    key_name: mykey
    instance_type: t2.micro
    image: ami-123456
    wait: yes
    group: webserver
    count: 3
    vpc_subnet_id: subnet-29e63245
    assign_public_ip: yes

# Advanced example with tagging and CloudWatch
- amazon.aws.ec2:
    key_name: mykey
    group: databases
    instance_type: t2.micro
    image: ami-123456
    wait: yes
    wait_timeout: 500
    count: 5
    instance_tags:
       db: postgres
    monitoring: yes
    vpc_subnet_id: subnet-29e63245
    assign_public_ip: yes

# Single instance with additional IOPS volume from snapshot and volume delete on termination
- amazon.aws.ec2:
    key_name: mykey
    group: webserver
    instance_type: c3.medium
    image: ami-123456
    wait: yes
    wait_timeout: 500
    volumes:
      - device_name: /dev/sdb
        snapshot: snap-abcdef12
        volume_type: io1
        iops: 1000
        volume_size: 100
        delete_on_termination: true
    monitoring: yes
    vpc_subnet_id: subnet-29e63245
    assign_public_ip: yes

# Single instance with ssd gp2 root volume
- amazon.aws.ec2:
    key_name: mykey
    group: webserver
    instance_type: c3.medium
    image: ami-123456
    wait: yes
    wait_timeout: 500
    volumes:
      - device_name: /dev/xvda
        volume_type: gp2
        volume_size: 8
    vpc_subnet_id: subnet-29e63245
    assign_public_ip: yes
    count_tag:
      Name: dbserver
    exact_count: 1

# Multiple groups example
- amazon.aws.ec2:
    key_name: mykey
    group: ['databases', 'internal-services', 'sshable', 'and-so-forth']
    instance_type: m1.large
    image: ami-6e649707
    wait: yes
    wait_timeout: 500
    count: 5
    instance_tags:
        db: postgres
    monitoring: yes
    vpc_subnet_id: subnet-29e63245
    assign_public_ip: yes

# Multiple instances with additional volume from snapshot
- amazon.aws.ec2:
    key_name: mykey
    group: webserver
    instance_type: m1.large
    image: ami-6e649707
    wait: yes
    wait_timeout: 500
    count: 5
    volumes:
    - device_name: /dev/sdb
      snapshot: snap-abcdef12
      volume_size: 10
    monitoring: yes
    vpc_subnet_id: subnet-29e63245
    assign_public_ip: yes

# Dedicated tenancy example
- amazon.aws.ec2:
    assign_public_ip: yes
    group_id: sg-1dc53f72
    key_name: mykey
    image: ami-6e649707
    instance_type: m1.small
    tenancy: dedicated
    vpc_subnet_id: subnet-29e63245
    wait: yes

# Spot instance example
- amazon.aws.ec2:
    spot_price: 0.24
    spot_wait_timeout: 600
    keypair: mykey
    group_id: sg-1dc53f72
    instance_type: m1.small
    image: ami-6e649707
    wait: yes
    vpc_subnet_id: subnet-29e63245
    assign_public_ip: yes
    spot_launch_group: report_generators
    instance_initiated_shutdown_behavior: terminate

# Examples using pre-existing network interfaces
- amazon.aws.ec2:
    key_name: mykey
    instance_type: t2.small
    image: ami-f005ba11
    network_interface: eni-deadbeef

- amazon.aws.ec2:
    key_name: mykey
    instance_type: t2.small
    image: ami-f005ba11
    network_interfaces: ['eni-deadbeef', 'eni-5ca1ab1e']

# Launch instances, runs some tasks
# and then terminate them

- name: Create a sandbox instance
  hosts: localhost
  gather_facts: False
  vars:
    keypair: my_keypair
    instance_type: m1.small
    security_group: my_securitygroup
    image: my_ami_id
    region: us-east-1
  tasks:
    - name: Launch instance
      amazon.aws.ec2:
         key_name: "{{ keypair }}"
         group: "{{ security_group }}"
         instance_type: "{{ instance_type }}"
         image: "{{ image }}"
         wait: true
         region: "{{ region }}"
         vpc_subnet_id: subnet-29e63245
         assign_public_ip: yes
      register: ec2

    - name: Add new instance to host group
      add_host:
        hostname: "{{ item.public_ip }}"
        groupname: launched
      loop: "{{ ec2.instances }}"

    - name: Wait for SSH to come up
      delegate_to: "{{ item.public_dns_name }}"
      wait_for_connection:
        delay: 60
        timeout: 320
      loop: "{{ ec2.instances }}"

- name: Configure instance(s)
  hosts: launched
  become: True
  gather_facts: True
  roles:
    - my_awesome_role
    - my_awesome_test

- name: Terminate instances
  hosts: localhost
  tasks:
    - name: Terminate instances that were previously launched
      amazon.aws.ec2:
        state: 'absent'
        instance_ids: '{{ ec2.instance_ids }}'

# Start a few existing instances, run some tasks
# and stop the instances

- name: Start sandbox instances
  hosts: localhost
  gather_facts: false
  vars:
    instance_ids:
      - 'i-xxxxxx'
      - 'i-xxxxxx'
      - 'i-xxxxxx'
    region: us-east-1
  tasks:
    - name: Start the sandbox instances
      amazon.aws.ec2:
        instance_ids: '{{ instance_ids }}'
        region: '{{ region }}'
        state: running
        wait: True
        vpc_subnet_id: subnet-29e63245
        assign_public_ip: yes
  roles:
    - do_neat_stuff
    - do_more_neat_stuff

- name: Stop sandbox instances
  hosts: localhost
  gather_facts: false
  vars:
    instance_ids:
      - 'i-xxxxxx'
      - 'i-xxxxxx'
      - 'i-xxxxxx'
    region: us-east-1
  tasks:
    - name: Stop the sandbox instances
      amazon.aws.ec2:
        instance_ids: '{{ instance_ids }}'
        region: '{{ region }}'
        state: stopped
        wait: True
        vpc_subnet_id: subnet-29e63245
        assign_public_ip: yes

#
# Start stopped instances specified by tag
#
- amazon.aws.ec2:
    instance_tags:
        Name: ExtraPower
    state: running

#
# Restart instances specified by tag
#
- amazon.aws.ec2:
    instance_tags:
        Name: ExtraPower
    state: restarted

#
# Enforce that 5 instances with a tag "foo" are running
# (Highly recommended!)
#

- amazon.aws.ec2:
    key_name: mykey
    instance_type: c1.medium
    image: ami-40603AD1
    wait: yes
    group: webserver
    instance_tags:
        foo: bar
    exact_count: 5
    count_tag: foo
    vpc_subnet_id: subnet-29e63245
    assign_public_ip: yes

#
# Enforce that 5 running instances named "database" with a "dbtype" of "postgres"
#

- amazon.aws.ec2:
    key_name: mykey
    instance_type: c1.medium
    image: ami-40603AD1
    wait: yes
    group: webserver
    instance_tags:
        Name: database
        dbtype: postgres
    exact_count: 5
    count_tag:
        Name: database
        dbtype: postgres
    vpc_subnet_id: subnet-29e63245
    assign_public_ip: yes

#
# count_tag complex argument examples
#

    # instances with tag foo
- amazon.aws.ec2:
    count_tag:
        foo:

    # instances with tag foo=bar
- amazon.aws.ec2:
    count_tag:
        foo: bar

    # instances with tags foo=bar & baz
- amazon.aws.ec2:
    count_tag:
        foo: bar
        baz:

    # instances with tags foo & bar & baz=bang
- amazon.aws.ec2:
    count_tag:
        - foo
        - bar
- baz: bangPython PIP is a package manager for Python, just like Yum is a package manager for CentOS 7 and RHEL 7.
In this article, I will show you how to install Python 2 PIP and Python 3 PIP on CentOS 7. Let’s get started.
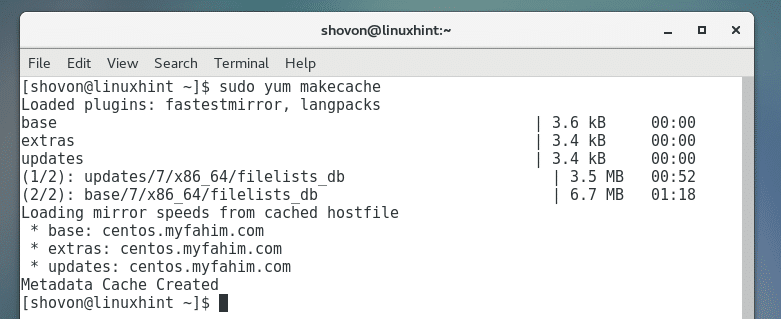
First update the package repository cache of yum package manager with the following command:

The yum package repository cache should be updated.
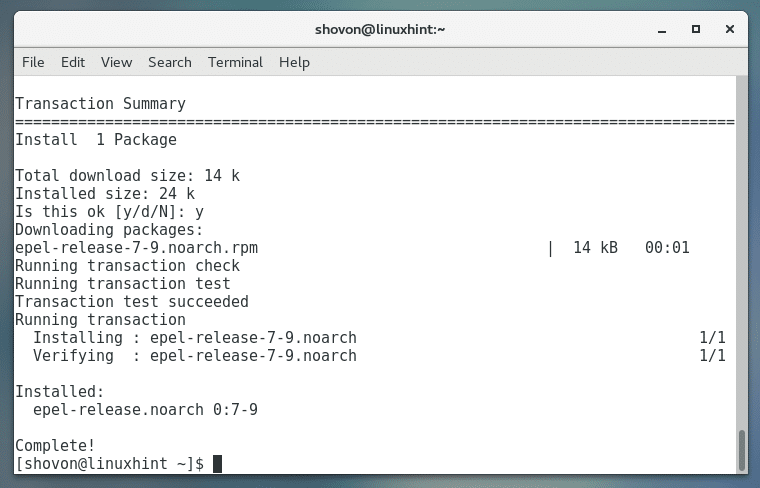
Python PIP is not available in the official package repository of CentOS 7. But it is available in the EPEL package repository. Before you can install Python PIP on CentOS 7, you must add EPEL repository to your CentOS 7.
To add EPEL package repository on CentOS 7, run the following command:

Press ‘y’ and then press <Enter> to continue.

EPEL package repository should be added.
Now update the package repository cache of your CentOS 7 again with the following command:

The package repository cache should be updated.
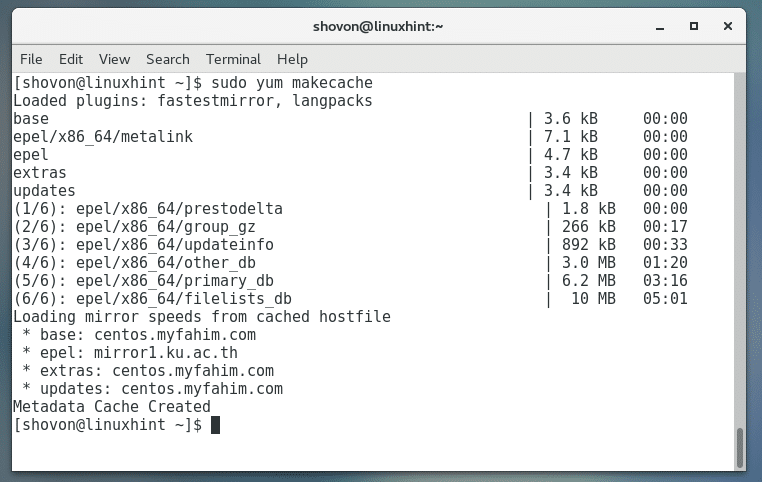
Now you’re ready to install Python PIP.
PIP is available for Python 2 and Python 3 in the EPEL repository. In this article, I will show you how to install Python 2 PIP and Python 3 PIP.
In this section, I will show you how to install Python 2 PIP.
Run the following command to install Python 2 PIP:

Press ‘y’ and then press <Enter> to continue.

Press ‘y’ and then press <Enter> to accept the GPG key.
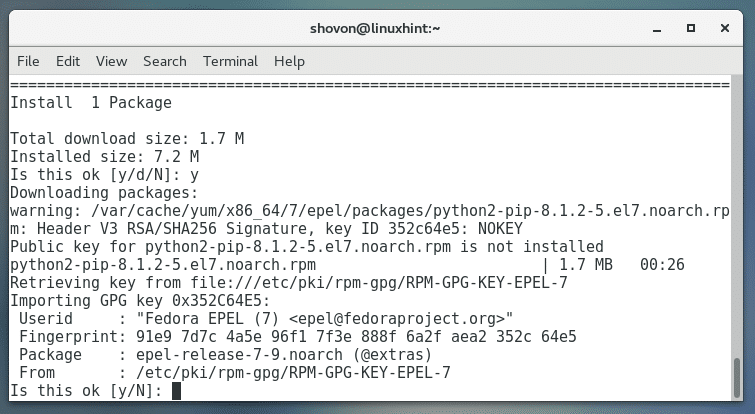
Python 2 PIP should be installed.

You can run the following command to check whether Python 2 PIP is working.

As you can see the version of PIP installed is PIP 8.1.2. By the time you read this, the version may change but don’t worry about it. It should work the same way.

In this section I am going to show you how to install Python 3 PIP.
At the time of this writing, on EPEL repository of CentOS 7, Python 3.4 is available. By the time you read this article, the package version may change. If the package version changes, so will the package name. So I am not going to install any specific version of Python 3 PIP. I will show you how to search for it and install what is available when you read this article.
You can run the following command to search for a Python 3 PIP package:

As you can see from the marked section of the screenshot below, the package name of Python 3 PIP is python34-pip.

Now you can install Python 3 PIP with the following command:

Now press ‘y’ and then press <Enter> to continue.

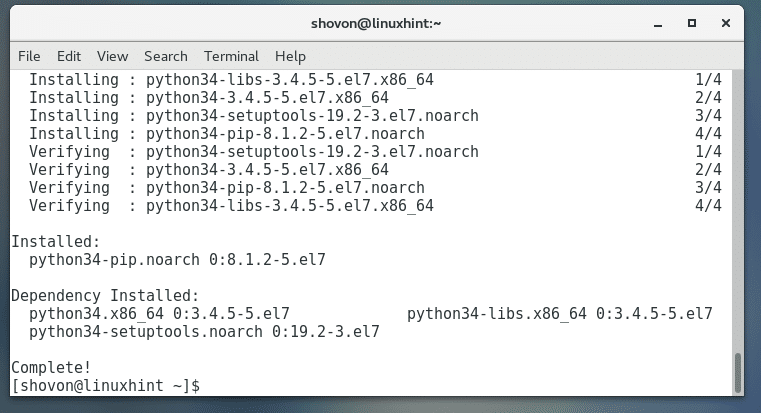
Python 3 PIP should be installed.
Now you can check whether Python 3 PIP is working with the following command: